In summary:
- Success on a budget relies on smart trade-offs and technical precision, not just expensive gear.
- Master low-cost techniques like planar projection and digital tracing over investing in 3D warping or scanners.
- Prioritize safety and organization; proper power management and a clean file system are non-negotiable.
- Resourceful engineering is the key to transforming a limited budget into an impactful visual experience.
The dream is captivating: your art, magnified and animated, flowing across the contours of a building, transforming a static facade into a dynamic canvas. Then comes the reality check—the staggering quotes from professional AV companies that can easily climb into the tens of thousands of dollars. For an independent artist or event planner, this can feel like an immediate dead end. The internet offers generic advice to “get a bright projector” or “use professional software,” but this rarely helps bridge the gap between a grand vision and a tight, sub-$5,000 budget.
What if the solution isn’t about finding cheaper gear, but about being smarter with the tools you can afford? This is where the mindset of resourceful engineering comes in. Achieving a high-impact projection mapping show isn’t about the size of your budget, but the surgical precision of your technical choices. It’s about understanding the core principles so you can leverage low-cost “hacks” to solve expensive problems, turning limitations into creative strengths. This isn’t about cutting corners; it’s about navigating them with intelligence.
This guide provides a technical roadmap for the budget-conscious creator. We will deconstruct the process, focusing on the critical trade-offs and resourceful techniques that make a sub-$5,000 project not just possible, but spectacular. We’ll cover everything from calculating the real brightness you need and creating pixel-perfect masks for free, to ensuring your setup is safe and your files are impeccably organized for a stress-free show night.
The following sections break down the essential technical challenges you’ll face and provide practical, budget-focused solutions. This structured approach will help you plan your project methodically, turning potential problems into solved equations before you ever arrive on site.
Summary: A Technical Roadmap for Budget Projection Mapping
- Why your projector looks washed out on a brick wall at night?
- How to create a precise mask in After Effects for a statue with irregular shapes?
- Planar Projection vs. 3D Warping: Which technique is needed for a corner setup?
- The placement mistake that puts the audience’s heads in the projection beam
- When to trigger the audio cues to match the visual collapse of the building?
- The wiring mistake in light installations that violates fire codes
- How to design a gallery workshop that appeals to teenagers who hate museums?
- How to Organize a 500-Layer Photoshop File So Your Team Doesn’t Hate You?
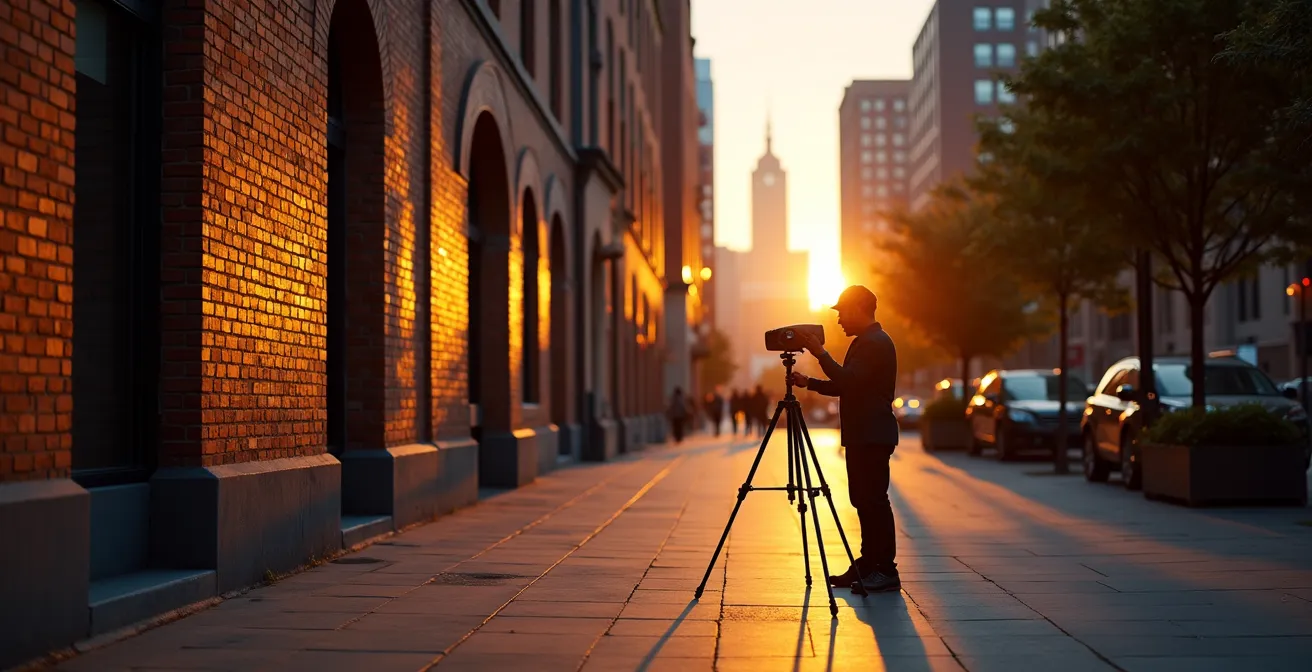
Why your projector looks washed out on a brick wall at night?
The most common failure point for a budget projection mapping project is a battle lost against light. You’ve secured a projector, but on site, your vibrant visuals are reduced to a faint, ghostly whisper on the building’s surface. The culprit isn’t just your projector’s lumen count; it’s the ratio of your projected light to the ambient light and the properties of the surface itself. A dark, textured surface like brick is a notorious light-eater, absorbing far more than a smooth, white wall.
The key metric isn’t just lumens, but lumens per square foot. To achieve a vibrant image, projections require a minimum of 50-100 lumens per square foot for dark surfaces like brick. A 5,000-lumen projector might sound powerful, but if you spread that light over a 100-square-foot area, you’re only delivering 50 lumens per square foot—the bare minimum. The second factor is ambient light pollution from streetlights, windows, or even a bright moon. Your projection needs to be significantly brighter—a common rule of thumb is a 4:1 ratio—to stand out.
Instead of guessing, you must measure. Before committing to a projector, visit your site at the exact time of the planned show. Use a free light meter app on your smartphone to take several readings across the facade. This gives you a baseline lux level of the ambient light. With this data, you can calculate the necessary projector brightness for your target surface area, ensuring your investment in a rental or purchase is a calculated decision, not a hopeful gamble. This act of frugal fidelity—achieving quality through measurement—is a cornerstone of resourceful project planning.
How to create a precise mask in After Effects for a statue with irregular shapes?
Projecting onto a flat wall is simple geometry. Projecting onto a statue with complex curves, deep recesses, and an irregular silhouette is a challenge that seems to demand expensive tools like 3D scanners and complex software. This is where surgical precision in your workflow provides a low-cost alternative. The goal is to create a digital mask that matches the physical object, pixel for pixel, from the projector’s exact point of view. A slight misalignment can shatter the illusion entirely.
A highly effective and budget-friendly technique is digital tracing. This method bypasses the need for 3D modeling by using the projector itself as the tracing tool. As demonstrated in a workflow by Digital Pressworks, the process is straightforward: set up your projector in its final, immovable position. Connect it to your laptop and project your desktop onto the statue. Open a simple drawing program (like Adobe Illustrator, or even a free vector tool like Inkscape) in full-screen mode. From the projector’s position, you can now physically see where to draw. Using the pen tool, meticulously trace the contours, edges, and details of the statue directly onto the digital canvas.
This paragraph introduces the visual technique for mask creation. The image below captures the tactile, focused nature of this digital craftsmanship.
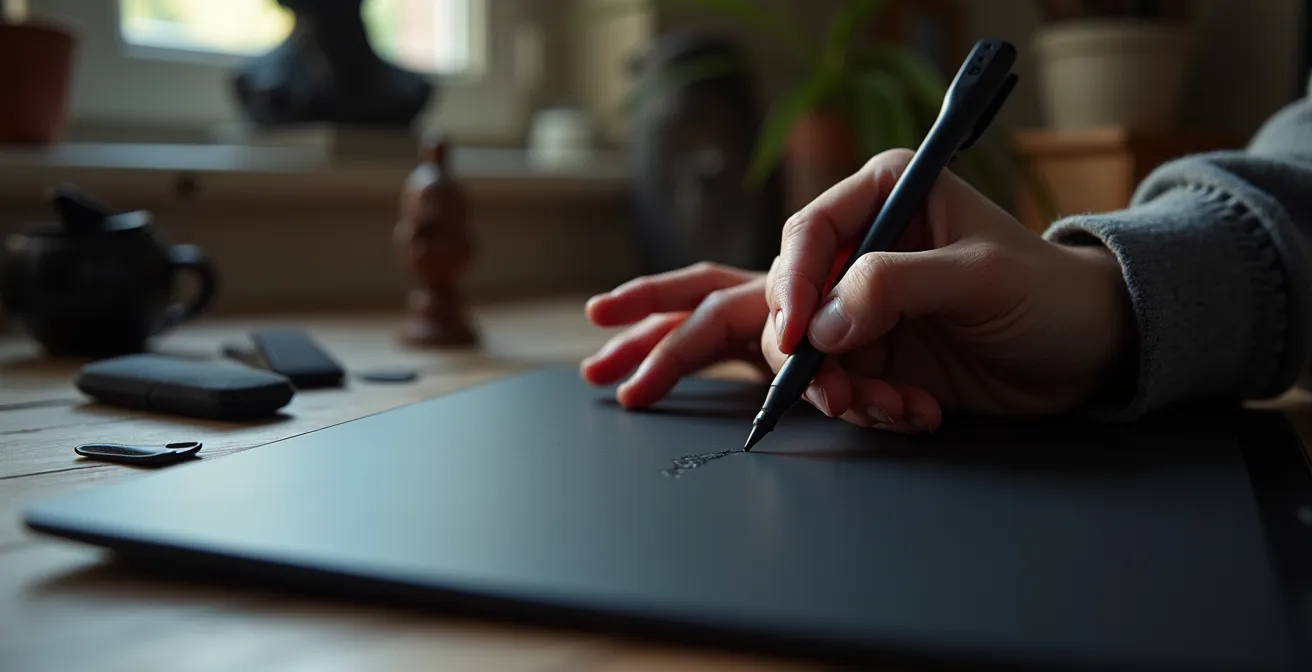
Once your tracing is complete, you save this vector outline. This file, created from the projector’s unique perspective, becomes your master template. When imported into Adobe After Effects, it serves as a perfectly registered guide for creating your masks and animating your content. This act of resourceful engineering turns a simple drawing tool and your own careful eye into a solution that rivals the accuracy of far more expensive technologies, ensuring your visuals adhere perfectly to even the most complex surfaces.
Planar Projection vs. 3D Warping: Which technique is needed for a corner setup?
When your canvas isn’t a flat facade but wraps around a corner, the immediate assumption is that you need complex 3D warping software. 3D mapping involves creating a detailed virtual model of the building and precisely aligning the projection to it. While incredibly powerful, it’s also a significant drain on a sub-$5,000 budget, demanding high-spec computers, expensive software, and a steep learning curve. For the resourceful engineer, the question becomes: is it truly necessary?
The alternative is planar projection. This technique treats the projection as a single flat plane, which is then distorted or “mapped” at its corners to fit a surface. While it sounds simple, creative use of planar techniques, or using two projectors with soft-edged blending, can often create a convincing illusion on simple geometric shapes like corners without resorting to full 3D. A comparative analysis from HeavyM’s comprehensive guide on building projection mapping clearly illustrates the trade-offs involved for a budget-conscious project.
| Aspect | Planar Projection | 3D Warping |
|---|---|---|
| Software Cost | $30-200 (HeavyM, basic tier) | $500+ (advanced software required) |
| Computer Requirements | Standard laptop (8GB RAM) | High-spec workstation (16GB+ RAM) |
| Learning Curve | 2-3 days | 2-3 weeks minimum |
| Setup Time On-Site | 30-60 minutes | 2-4 hours |
| Viewing Sweet Spot | Wide area (60-90 degrees) | Narrow (single viewpoint) |
As the data shows, the commitment to 3D warping is not just financial but also temporal. For a project under $5,000, the time and money spent mastering 3D tools could be better allocated elsewhere. The HeavyM documentation puts it best: “For a sub-$5,000 project, the answer is nearly always to creatively maximize planar techniques”. This is a key principle of trade-off-driven planning: choosing the simpler, faster, and cheaper path and then using creativity to push its boundaries often yields better results than struggling with an overpowered, under-resourced approach.
The placement mistake that puts the audience’s heads in the projection beam
Few things shatter the immersive magic of a projection show faster than an audience member’s shadow dancing across the facade. The “shadow monster” is a rookie mistake, born from focusing on the relationship between the projector and the building while forgetting the third, crucial element: the audience. The interplay between these three points—the Projection Trinity—is a geometric puzzle that must be solved during your site planning.
The core problem is placing the projector too low and too close to the viewing area. If the projection beam is at or near head height, any movement from the audience will cast shadows. The simplest rule to avoid this is elevation. Whenever possible, the projector should be positioned significantly above the crowd. As a baseline, a 10-foot minimum height above audience level is recommended by industry safety standards. This often means looking for unconventional placement options like a balcony, a window in an opposite building, or even a securely positioned rooftop. Calculating the throw ratio of the projector is also essential; this tells you the distance needed to create an image of a certain size, which in turn determines a safe minimum distance from the audience.
A comprehensive site plan considers the geometric relationship between the projector, the audience “sweet spot,” and the power source. It’s a logistical chain where one weak link can compromise the entire experience. Securing cables, creating a safety perimeter around the equipment, and ensuring clear sightlines are all part of this planning phase. This checklist ensures you account for all the practicalities of on-site placement.
- Map the geometric relationship between Projector, Audience Sweet Spot, and Power Source
- Calculate throw ratio to determine minimum safe distance from audience
- Position projector at least 10 feet above head height when possible
- Consider rooftop or elevated positions across from the building
- Use gaffer tape (not duct tape) to secure all cable runs
- Create a 3-foot safety perimeter around projector equipment
When to trigger the audio cues to match the visual collapse of the building?
A powerful projection mapping show is a synesthetic experience; the audio and visuals are two halves of a whole. When a building appears to crumble, the sound of cracking stone and deep rumbles must be perfectly synchronized. For a solo operator on a budget, managing separate video and audio playback systems with external triggers or MIDI clocks is a recipe for drift and failure. A single missed cue can ruin the entire impact. The most resourceful and reliable solution is often the simplest.
Professional teams recommend a “Zero-Fail Sync” method for solo operators: embed the final, mixed audio track directly into the video file before exporting. This creates a single, self-contained media file. When you press play, the audio and video are locked together by their very nature, eliminating any possibility of sync drift. This removes the need for a dedicated audio operator, complex external hardware, and the stress of managing two separate timelines live. For a sub-$5,000 project, this level of simplicity and reliability is invaluable.
With technical sync solved, you can focus on the artistry of timing. Perfect sync isn’t always about hitting a cue at the exact same frame. Cinematic sound design uses subtle offsets to heighten emotional impact. These techniques, borrowed from film editing, can add a layer of professional polish to your show:
- J-Cut: Start an audio cue slightly before the visual it accompanies. For instance, begin the sound of cracking 0.5-1 second before the visual crack appears on the building. This creates anticipation.
- L-Cut: Let an audio cue continue after its corresponding visual has ended. The low rumble of a collapse could continue for 2-3 seconds after the building has visually settled, enhancing the sense of weight and finality.
- Strategic Silence: The absence of sound can be more powerful than noise. Cutting all audio for 1-2 seconds right before a major visual impact creates immense tension and makes the subsequent sound and visual feel even bigger.
The wiring mistake in light installations that violates fire codes
In the excitement of creating stunning visuals, it’s easy to overlook the least glamorous but most critical part of your setup: power. An improper wiring setup is not only an amateur mistake; it’s a serious fire hazard and a liability risk that can shut down your event. The most common and dangerous error is daisy-chaining—plugging multiple indoor-rated power strips together to run a long cable. This is a direct violation of most fire codes.
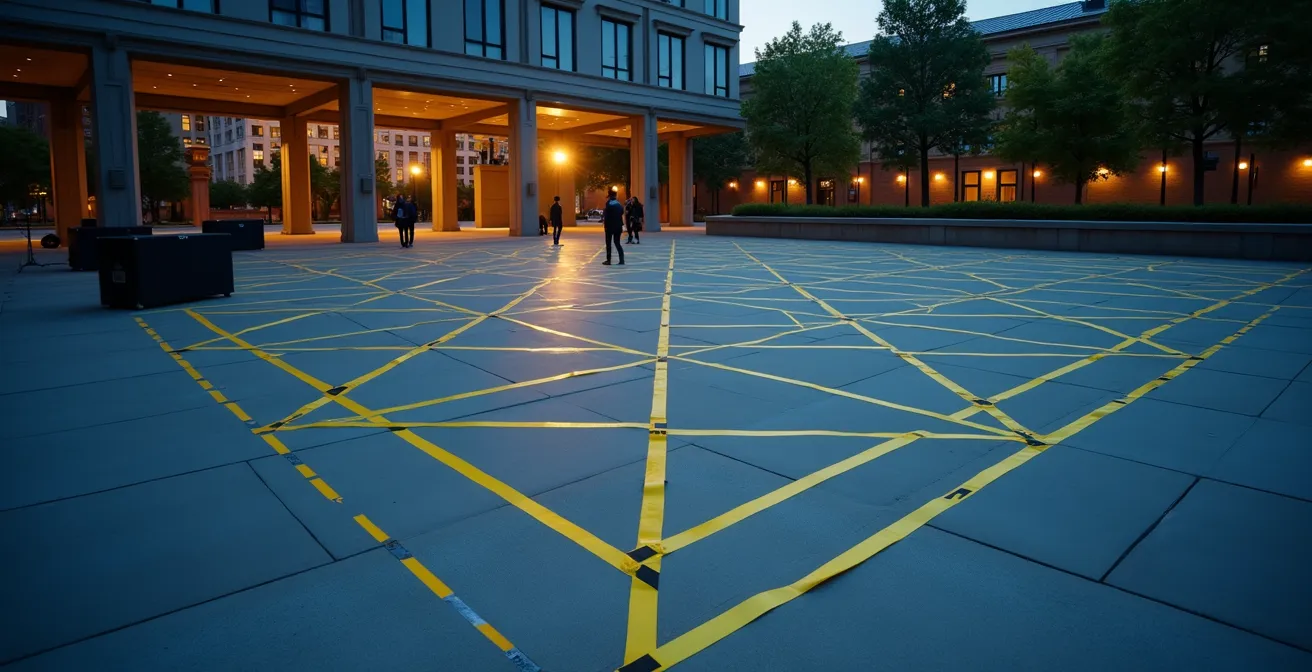
Safe outdoor power management begins with a single, heavy-duty, outdoor-rated extension cord of the proper gauge, run directly from the power source to your equipment area. Furthermore, any connection to an outdoor power source should use a Ground Fault Circuit Interrupter (GFCI) adapter. This inexpensive device (around $20) is designed to shut off the power instantly if it detects a short or exposure to moisture, preventing electrical shocks. Another critical aspect is calculating your total power draw. You must sum the wattage of your projector, laptop, speakers, and any other equipment, then ensure your power source can handle it. In fact, since electrical safety standards require a 25% headroom above the total power draw, you need to plan for a capacity significantly higher than your actual use to prevent overloads.
This wide shot shows how clean, secure cable management contributes to a safe and professional event environment.
To ensure your project is both safe and compliant, a systematic audit of your electrical plan is essential. This isn’t just about following rules; it’s about protecting your equipment, your audience, and yourself.
Your Fire Code Compliance Audit: Power and Cabling
- Points of Contact: Identify all power sources (outlets, generators), cable pathways, and potential hazard points like audience walkways or areas prone to moisture.
- Collecte: Create a full inventory of all electronic equipment (projector, laptop, speakers, etc.) and document the exact wattage of each device. Sum these to find your total power draw.
- Coherence Check: Compare your total wattage + 25% safety margin against the capacity of your power source. Verify that all extension cords are single, outdoor-rated, and of the appropriate gauge for the load and distance.
- Risk Assessment: Identify and mitigate key risks. Is there a trip hazard? Secure cables with gaffer tape every 3 feet. Is there a risk of water? Ensure GFCI adapters are used on all outdoor connections. Is daisy-chaining present? Eliminate it immediately.
- Integration Plan: Create a final, documented cable map. Secure all runs neatly, maintain a 10-foot clearance from emergency exits, and take photos of the final setup for liability protection.
How to design a gallery workshop that appeals to teenagers who hate museums?
For a solo artist on a budget, this question may seem like a distraction. But reframed through the lens of resourceful engineering, it presents a brilliant, unconventional strategy for funding and content generation. Instead of seeing a workshop as an educational add-on, see it as a mechanism to unlock grants and create community-sourced material for your main projection show. Many community art grants are specifically earmarked for youth engagement and participatory projects—funds that are inaccessible for a standard “passive viewing” installation.
The key, as demonstrated by HeavyM’s educational outreach programs, is to frame your project as a “projection bombing” or “guerilla art” workshop. This immediately makes it more appealing to teenagers than a traditional “gallery” event. By partnering with a local youth center or school, you gain credibility and access a new pool of potential funding from educational and youth development grants. The workshop becomes the Trojan horse that carries your artistic project across the funding finish line.
Once funded, the workshop itself becomes a low-cost content factory. The goal is to engage teenagers by giving them a sense of ownership and agency in the final piece. You don’t need expensive equipment to do this. A few low-budget interactivity techniques can be incredibly effective:
- Live Interaction: Set up a simple webcam and use free blob-tracking software to create visuals that react to participants’ movements in real-time.
- Social Media Integration: Create a dedicated event hashtag and project a live, curated feed of their posts and photos onto a secondary surface.
- Co-Creation Workshops: Before the main event, run a mini-workshop where participants use free smartphone apps to create short animations or draw 10-second loops on paper templates, which you then digitize and incorporate into the final show sequence.
By focusing on themes relevant to them—like social justice, local culture, or environmental issues—you ensure their engagement is authentic. This approach transforms your project from a solo endeavor into a community celebration, making it more meaningful and drastically reducing your own content creation workload.
Key Takeaways
- Brightness is relative: It’s about the ratio of projector lumens to ambient light, not just the raw number.
- Precision beats power: An accurate software mask is more effective and cheaper than a brighter, misaligned projection.
- Safety is paramount: Electrical and placement planning aren’t optional; they are foundational to a successful event.
How to Organize a 500-Layer Photoshop File So Your Team Doesn’t Hate You?
For a solo artist, the “team” you need to keep happy is your future self—specifically, your future self standing on a dark street corner, under pressure, trying to get the show running. In this high-stress, low-light environment, a disorganized file system is a critical failure point. As the documentation for the HeavyM Digital Art Projection Mapping Course puts it bluntly: “On a high-stress, low-budget project, a disorganized file system is a form of self-sabotage”. When a file won’t play or you can’t find the latest version of a mask, your entire project grinds to a halt. Professionalism, even on a solo project, starts with impeccable organization.
This isn’t about complex corporate version control; it’s about a simple, robust system that works under pressure. It means creating a standardized folder structure before you create a single piece of content. It means using iterative saving so you can always roll back to a previous version. And it means optimizing all your media for performance before you even leave for the site. A video file that plays perfectly on your powerful desktop may stutter and crash a less powerful show laptop if it isn’t converted to a performance-friendly codec like HAP or DXV.
The goal is to create a dedicated “On-Site Go-Bag” folder. This folder contains only the final, tested, and optimized files needed for the show—nothing else. It’s your digital safety net. This disciplined approach ensures that when it’s time to perform, you’re focused on the art, not frantically searching for a missing file or troubleshooting a technical glitch.
- Standardized Folders: Create a universal structure: /01_Content, /02_Software_Projects, /03_Site_Photos, /04_Audio.
- Iterative Saving: Use clear versioning: Project_v01.aep, Project_v02_mask-complete.aep, Project_v03_final.aep.
- Pre-Show Optimization: Convert all final video files to a performance codec like HAP or DXV. Never use raw mp4 or mov files for live playback.
- Resolution Matching: Ensure your project’s resolution matches the projector’s native output (e.g., 1920×1080 for a 1080p projector) to avoid scaling issues.
- The “Go-Bag”: Create a single folder on an external drive containing only the final, optimized video files, the mapping software project file, and a README.txt.
- README.txt: This simple text file is your ultimate backup. It should contain critical info: final projector settings (brightness, contrast), the exact file names to be played in order, and emergency contact numbers.
With this framework of resourceful engineering, you are now equipped to move from concept to execution. The next step is to begin scouting your location, measuring ambient light, and applying these principles to create a project plan that turns your artistic vision into a spectacular, budget-conscious reality.